-

Perspectief
Leestijd: 5 minuten Op 11 maart 1936 verscheen toenmalig minister van Economie en later premier van Nederland Hendrikus Colijn op de radio met de woorden “Gaat u maar rustig slapen.” De reden hiervoor was het overheidsbesluit, naar aanleiding van de Duitse bezetting van het Rijnland, twee legeronderdelen langer in dienst te houden. Dat besluit leverde…
-
De stoute schoenen
Leestijd: 3 minuten In mijn eigen lagereschooltijd overkwam het mij wel eens dat ik naar de huisarts moest omdat er een voetwratje verwijderd moest worden. Dat deed hij eerst met iets wat ik vooral van de handenarbeidlessen kende, de guts, en later met stikstof. Van dat laatste beweerde hij dat het extreem koud was maar…
-

Tips voor een duurzaam leven
Leestijd: 2 minuten Rond-DuckDuckGo’end naar Nederlandstalige duurzaamheidsblogs trof ik gisteravond vooral sites aan met tips voor het verkleinen van de persoonlijke CO2-footprint. Duurzame kleding, voedsel en tweedehands elektronica werden met pastelkleurtjes geserveerd als oplossing voor zorgen over het klimaat. Er bestaan ook heel handige overzichten als De leukste duurzame blogs en 10x De leukste blogs…
-
Alstublieft
Leestijd: 2 minuten Ik raad u aan, waarde lezer, dit stukje niet hardop te lezen. De uitspraak zal u waarschijnlijk afschuwelijke poliepen opleveren op uw stembanden en in potentie zelfs lelijk etterende wonden in de oren van de mensen om u heen. “Graag” moet wel het vreselijkste woord uit onze taal zijn of het moesten…
-
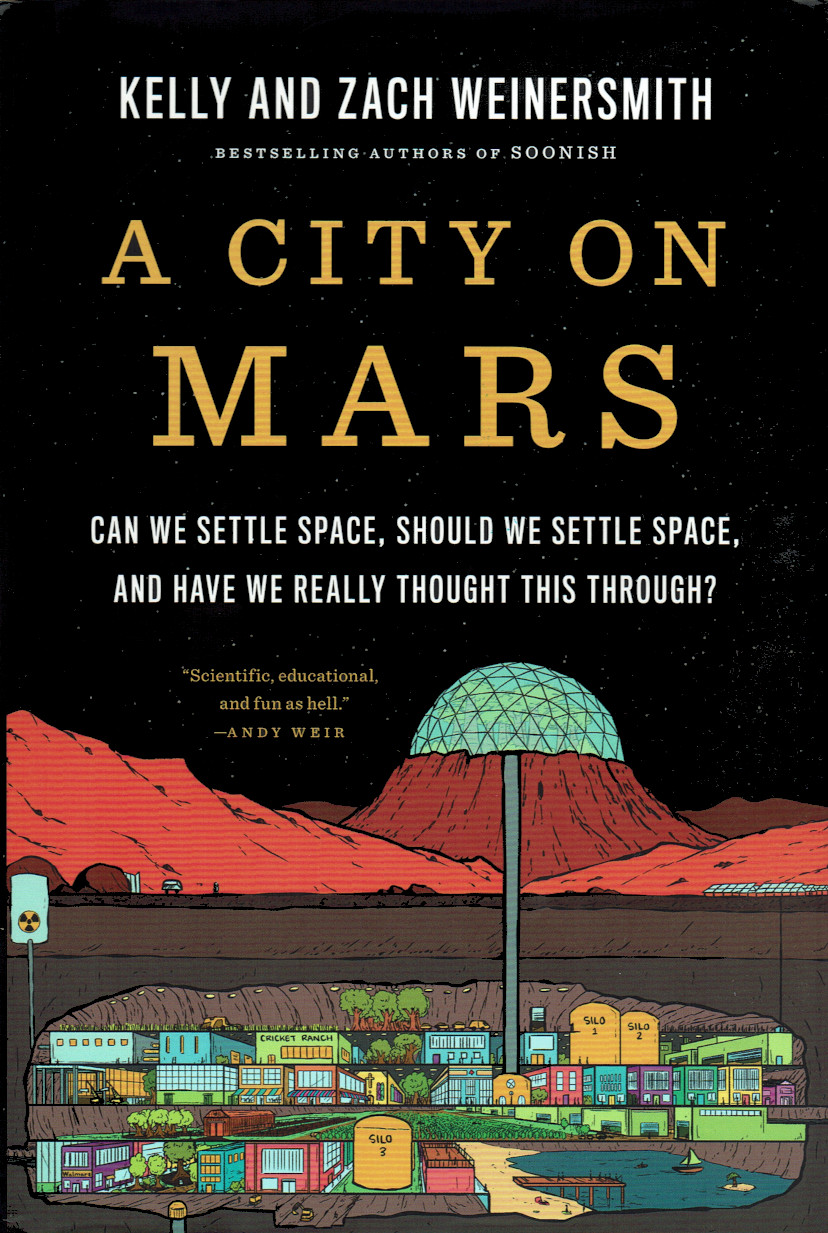
Kelly en Zach Weinersmith: A city on Mars
Leestijd: 8 minuten “A city on Mars” is een komisch geschreven en geïllustreerd populair wetenschappelijk boek met een serieuze ondertoon. De nieuwe ruimtewedloop heeft grote risico’s, en warmt potentieel de atmosfeer verder op.
-
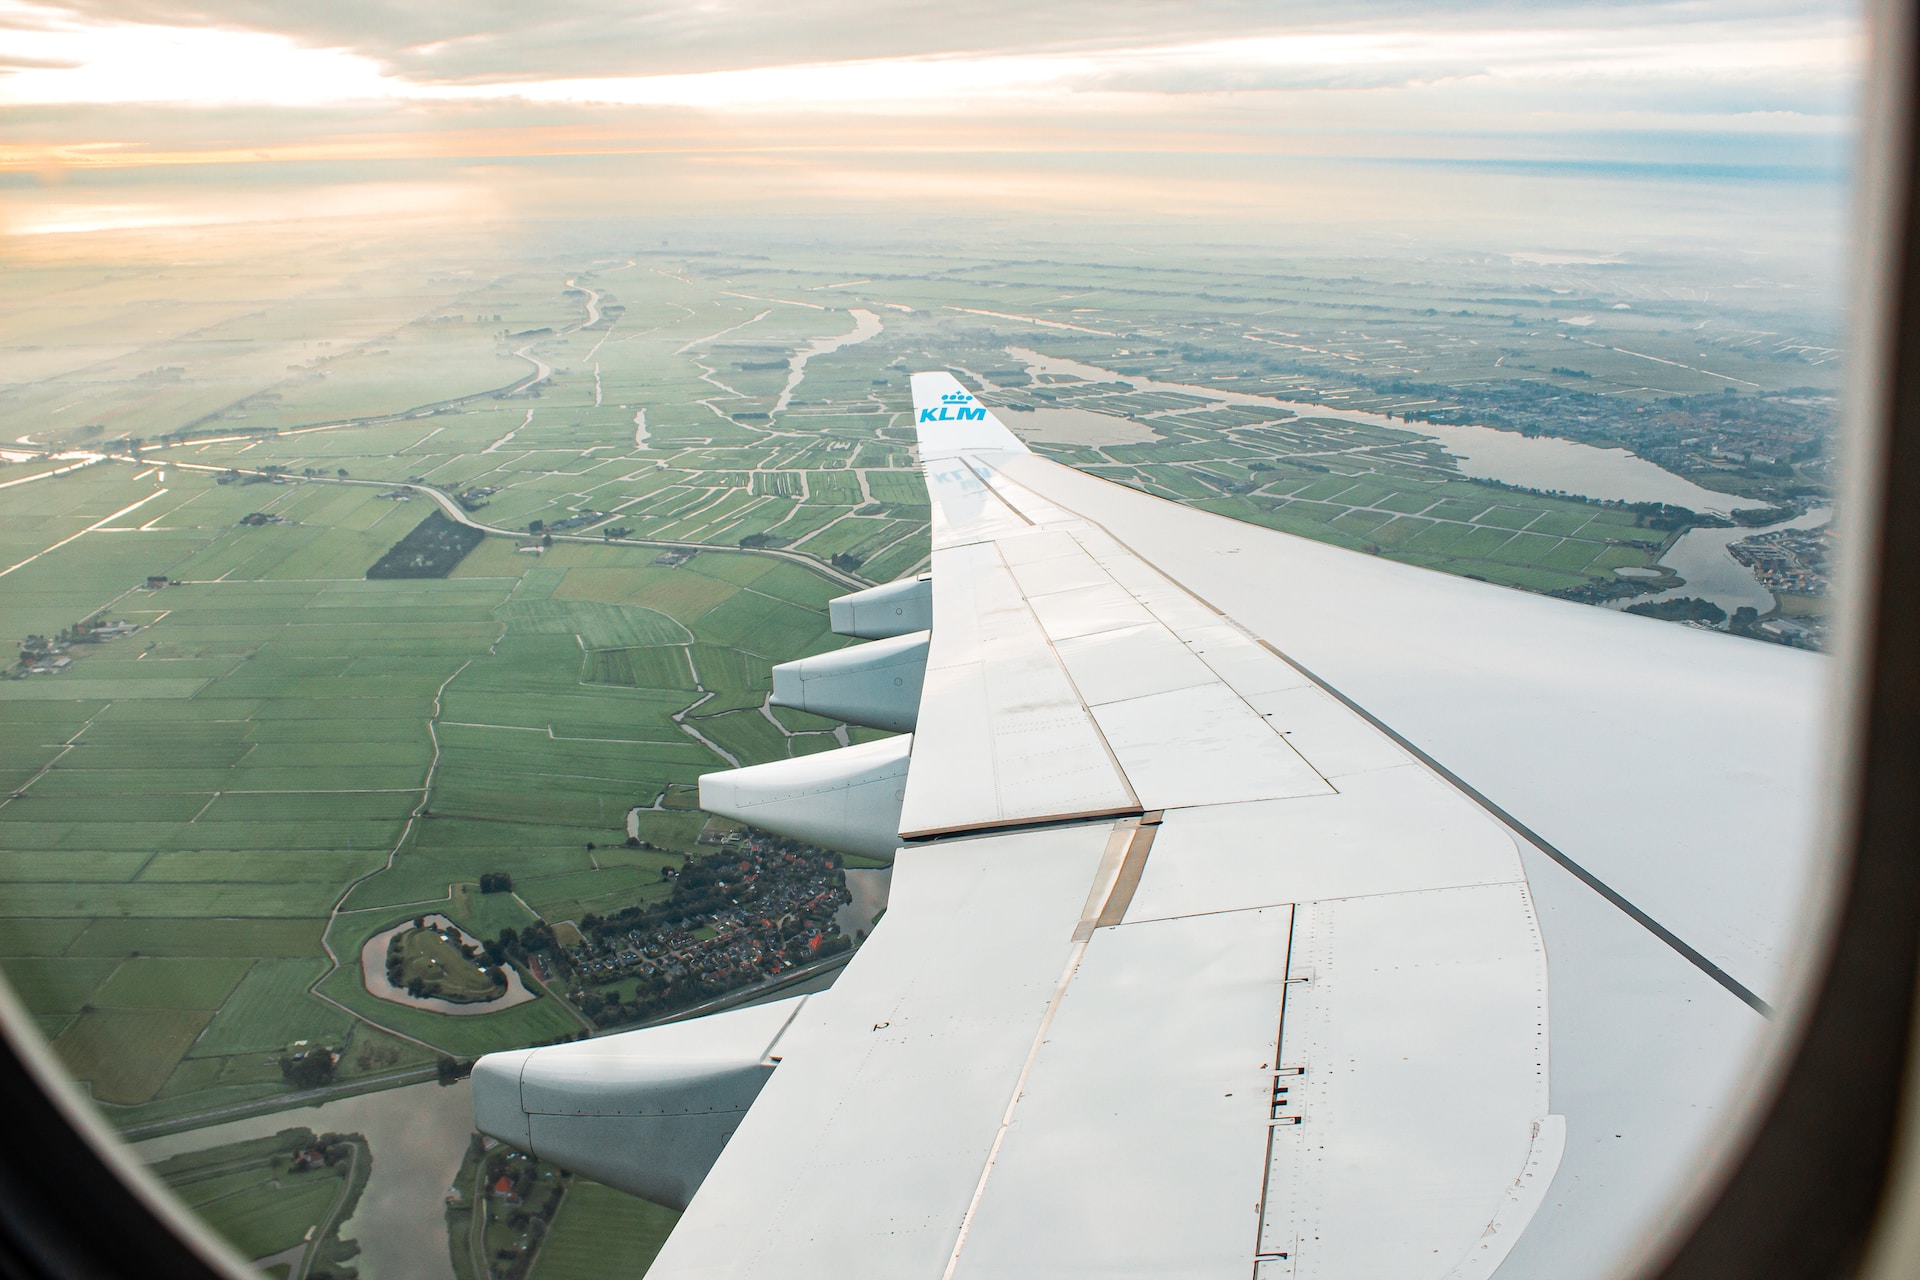
Amerikanen mogen ook best minder hinder
Leestijd: 3 minuten Titelfoto: Foto door Isaac Struna op Unsplash Ik woon in Amsterdam Noord en ik heb een stevige insomnia. Dit zorgt ervoor dat ik bijna elke nacht te vroeg wakker word. Ik ga dan vaak wat makkelijks lezen (van papier) en dan weer naar bed om verder te slapen. Daardoor ben ik me…
-

Vergeet de flashmobs niet
Leestijd: < 1 minuut Titelfoto: de gelderlander.nl In het derde decennium van de vorige eeuw luidde een bekend gezegde: “Als de treinen op tijd gaan rijden, moet je je zorgen gaan maken over de staat van je democratie.” Wilders heeft het niet zo vaak over de treinen, maar misschien is de tandartsverzekering in die zin…
-
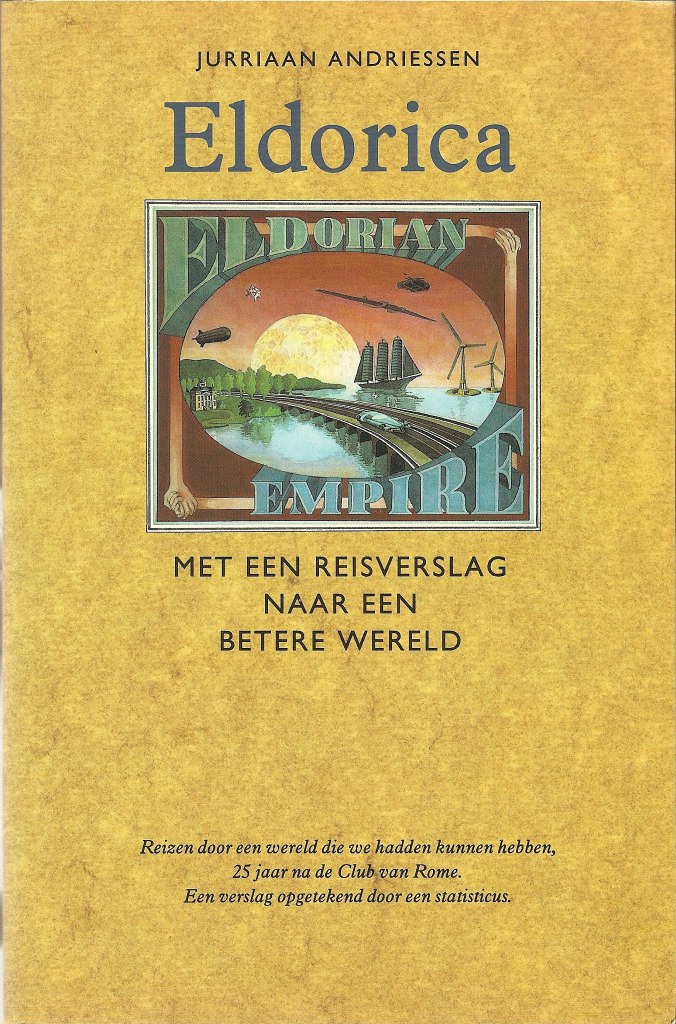
Jurriaan Andriessen: Eldorica
Leestijd: 4 minuten Boek: Eldorica, met een reisverslag naar een betere wereld Auteur Jurriaan Andriessen Uitgave Het Spectrum, 1990 Taal Nederlands Eldorica, Met een reisverslag naar een betere wereld, werd geschreven door de Nederlandse componist en graficus Jurriaan Andriessen, telg uit de befaamde Haarlemse familie waarvan ook de internationaal beroemde componisten Louis en Hendrik Andriessen…
-

Vervuilers de grens over duwen? Goed idee!
Leestijd: 3 minuten Stel je voor. Je rijdt in een auto. Waar je rijdt, mag je maar dertig maar de weg is breed, er is niemand, het is avond en die twee auto’s voor je rijden harder en die achter je wil harder. Dus doe jij het ook maar. Anderen doen het toch ook? Wanneer…
-

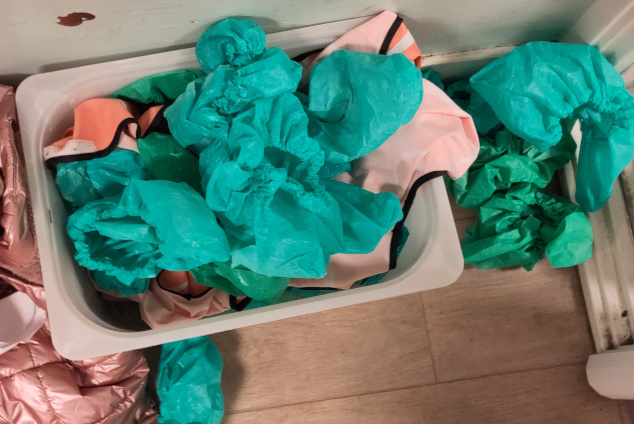
Doorgeschoten gemakzucht schiet zijn doel voorbij
Leestijd: 3 minuten Plastic speelt een positieve rol in het voorkomen van voedselbederf. Van plastic komt echter het grootste deel als afval in de natuur terecht. Ongeveer 7 miljard van de 9,2 miljard ton plastic geproduceerd tussen 1950 en 2017 werd plastic afval, dat op stortplaatsen terechtkwam of werd gedumpt. Elk jaar verdwijnt 8 miljoen…